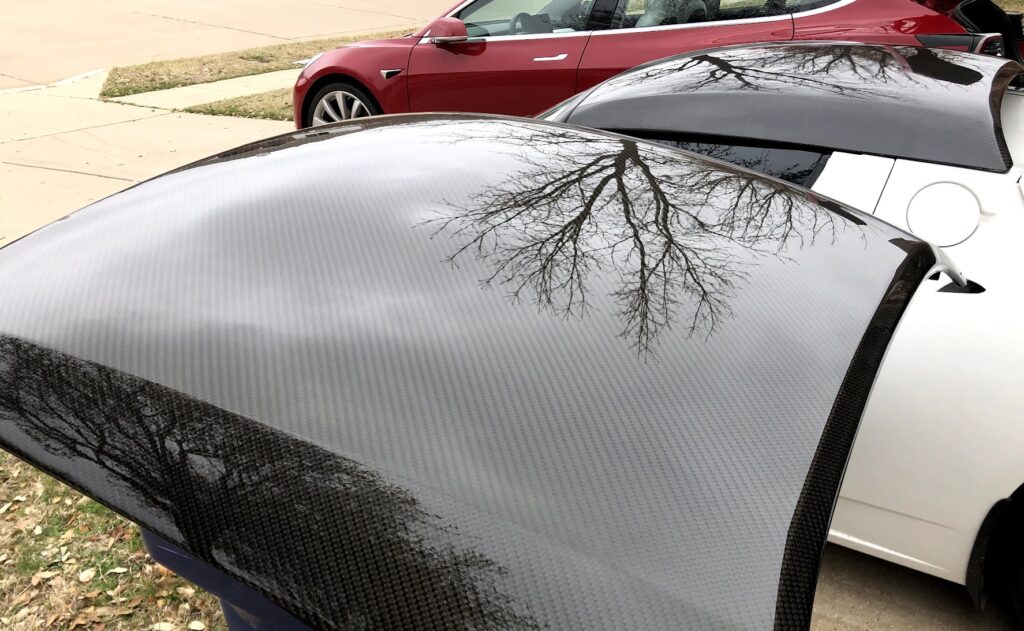
A customer found this Roadster hard top on eBay and had it sent to us for restoration. The top as advertised on eBay was a clear carbon fiber top that appeared to have flown off a car and tumbled across the road. A few of the corners were badly damaged and would have to be reconstructed.
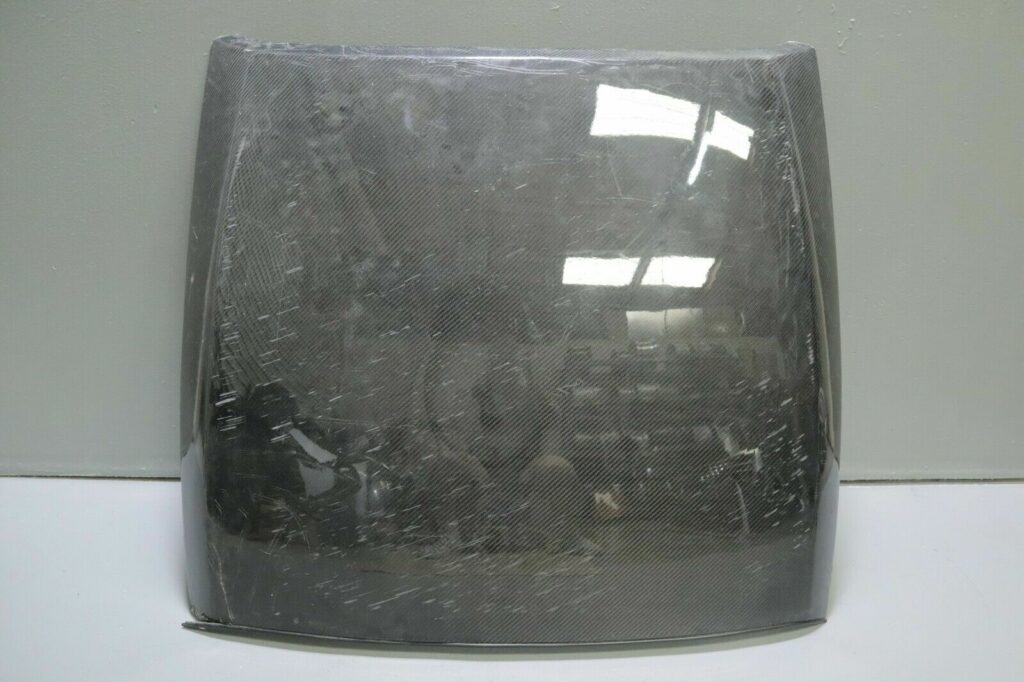
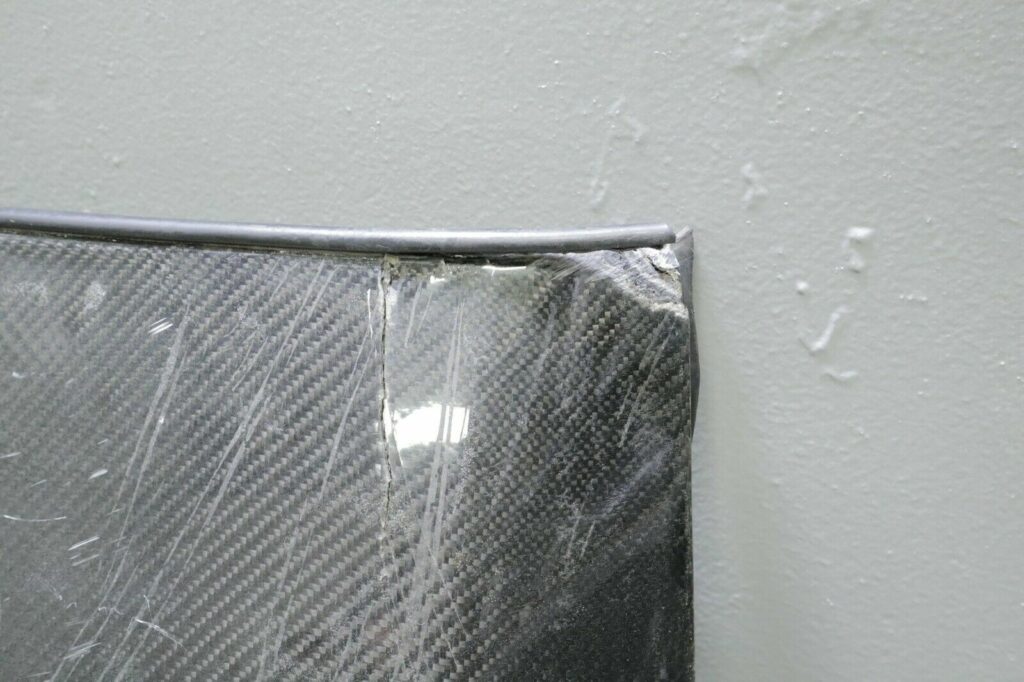
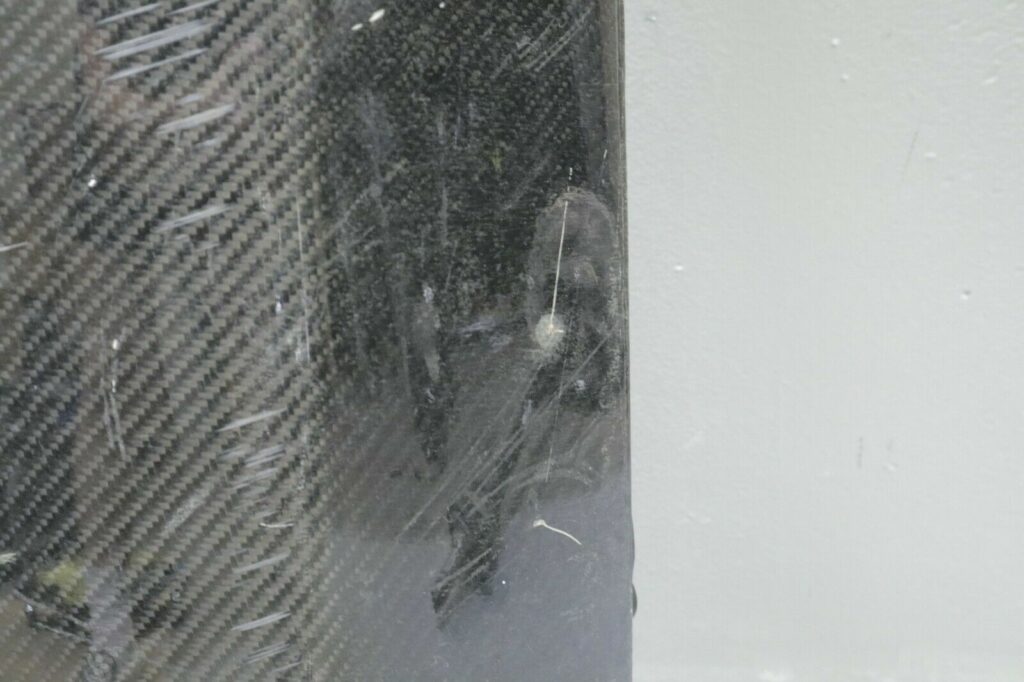
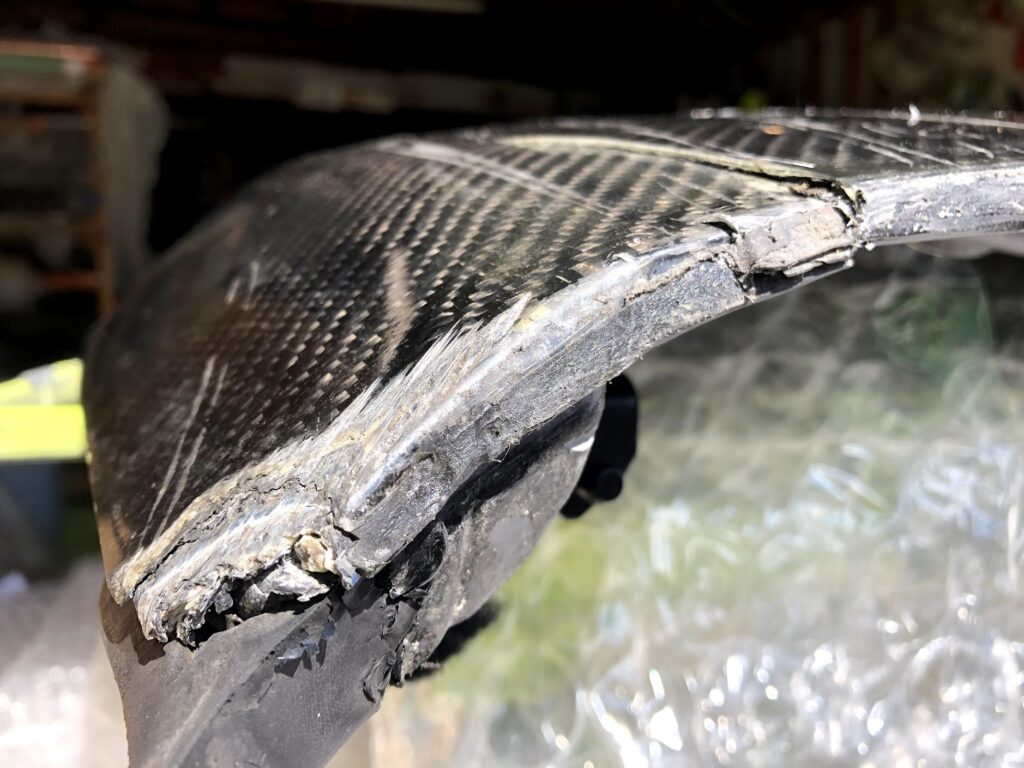
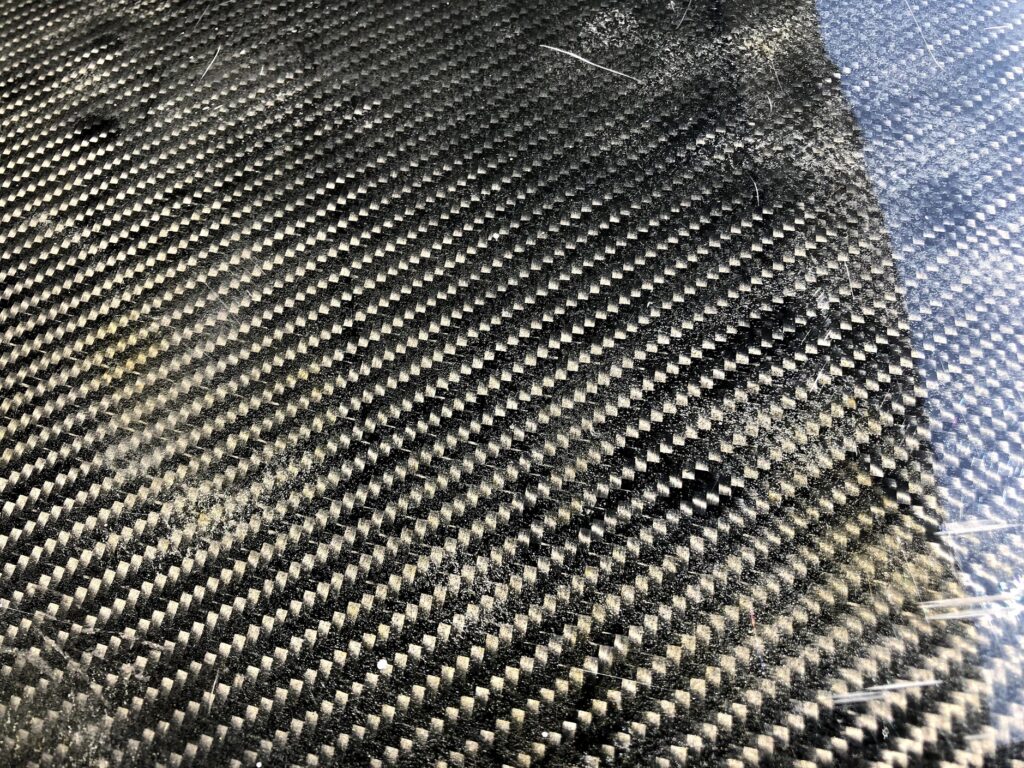
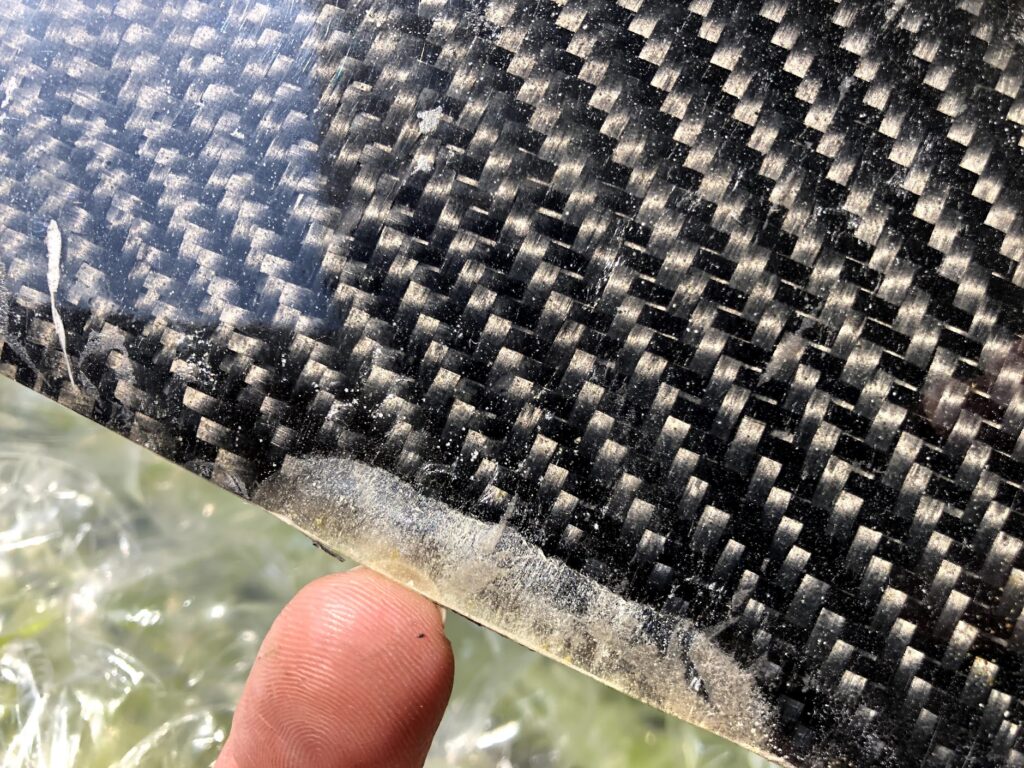
Once received, we found the top to be in much worse shape than expected. In the eBay listing, the finish looked badly scuffed but potentially salvageable. Up close, the resin was full of air bubbles and was lifting off of edges. Something also seemed off about this “OEM clear carbon” top.
Then we discovered this:
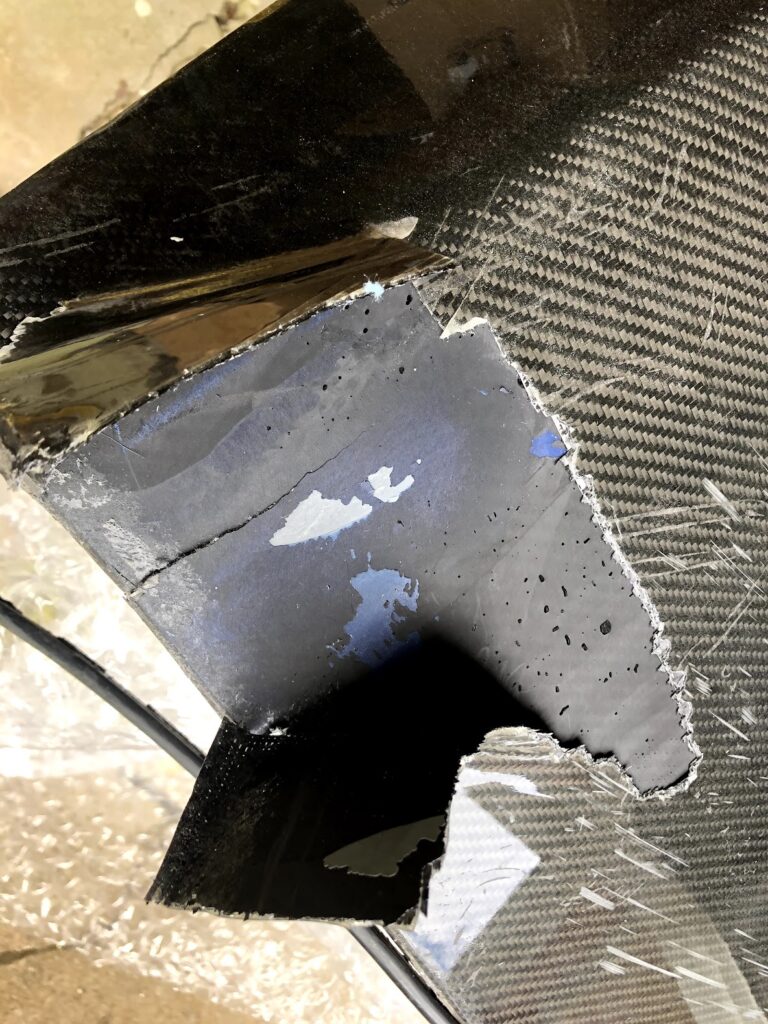
Surprise! This was not an OEM clear carbon top. Someone had taken a Twilight Blue body color top and skinned it with a layer of carbon fiber. The next step would be to scrape off this layer. It wasn’t too challenging, as it had already delaminated in many areas.
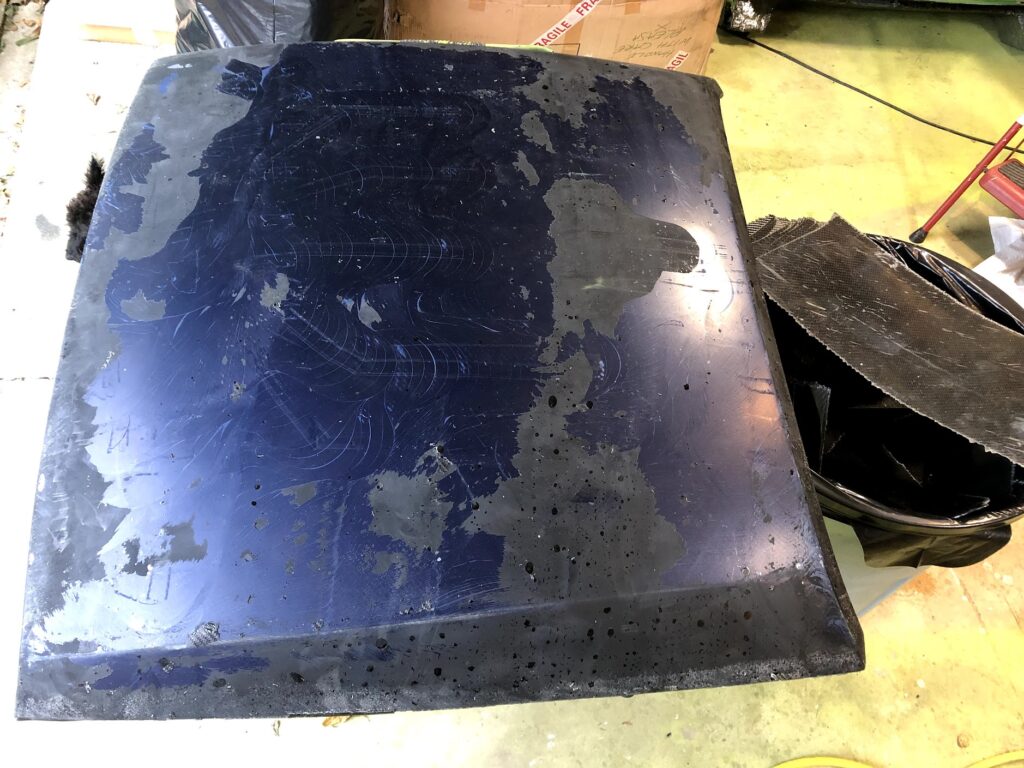
Carbon skin completely removed. It appeared that the original Twilight Blue finish had been covered with black spray paint to hide the blue from gaps in the carbon fiber weave. This and the surface not being adequately sanded contributed to the carbon fiber skin delaminating.
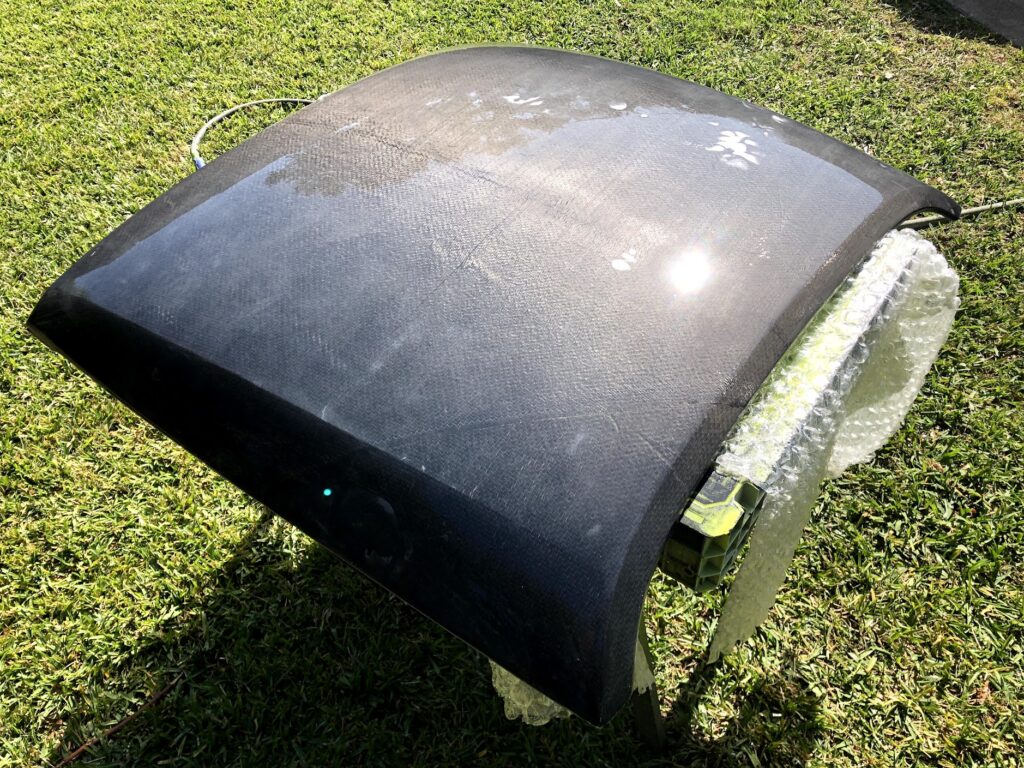
To make this a “clear carbon fiber” top as the customer desired, we were looking at reskinning the entire surface, after reconstructing the damaged areas. To get the best results, we stripped the top down to its base carbon fiber layer. Note that all OEM Roadster hard tops had a carbon fiber exterior shell. Only the clear carbon version had a cosmetic twill weave layer. You can see here the multiaxial non-crimp fabric used in this top. The same fabric is used in many other parts of the Roadster. Look at the underside of the trunk next time you have it open – it’s visible there.
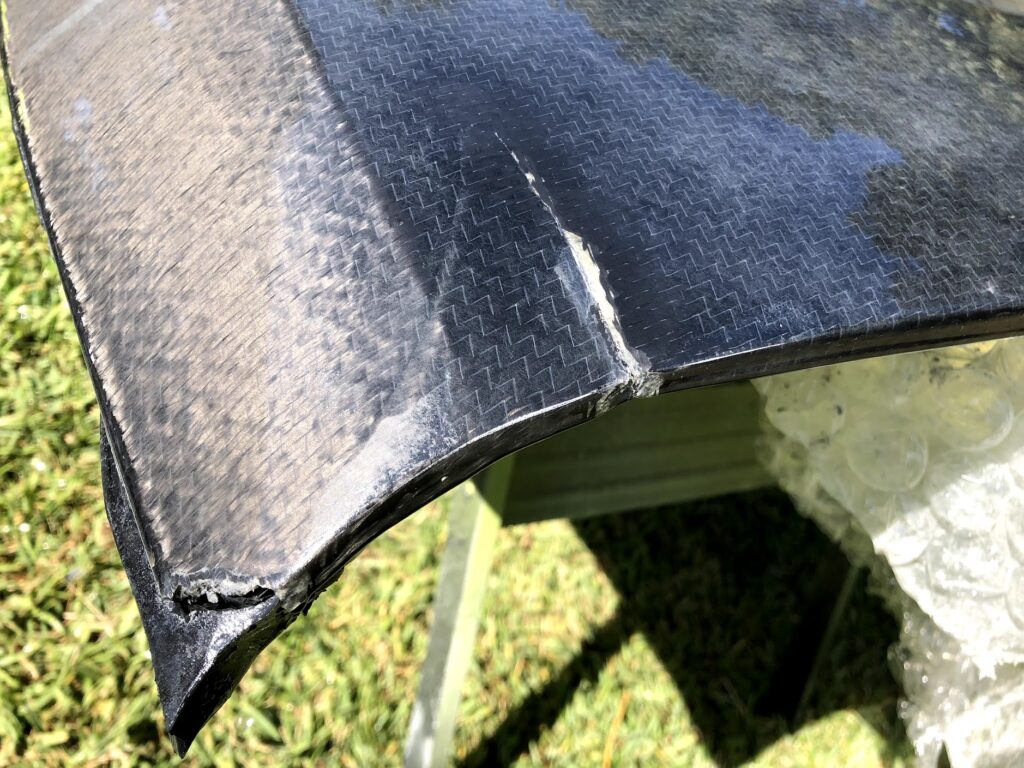
The exterior shell of the Roadster hard top is not structural, so these cracks don’t compromise anything beyond cosmetics.
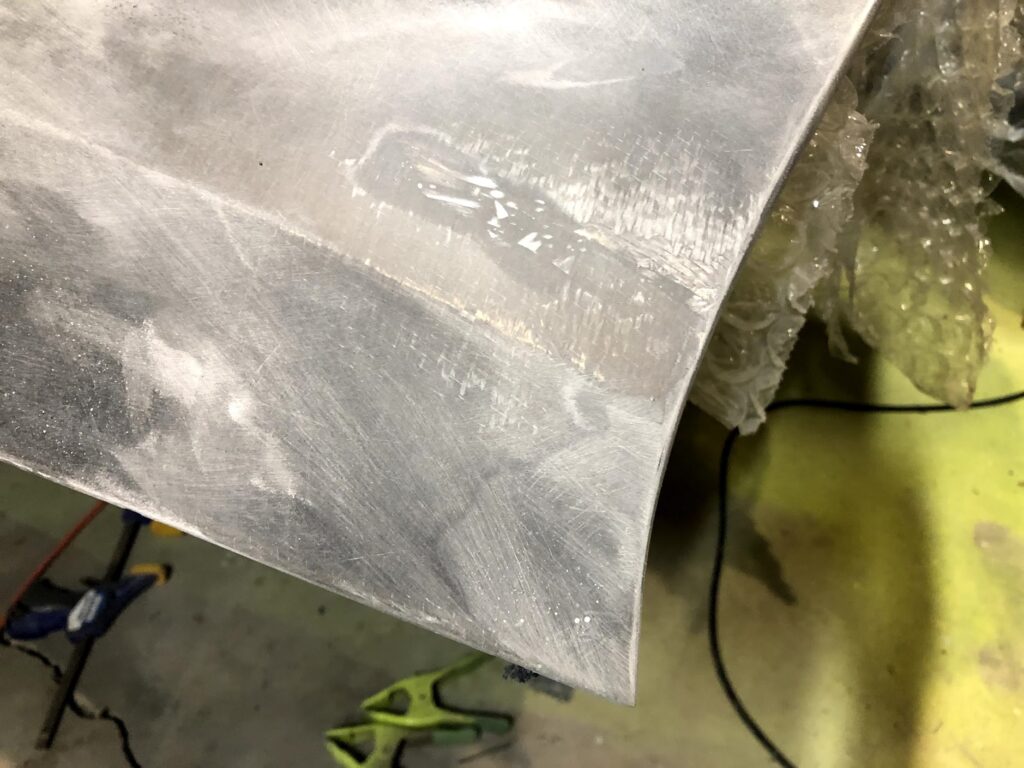
Same corner after reconstruction with a mold pulled from another top.
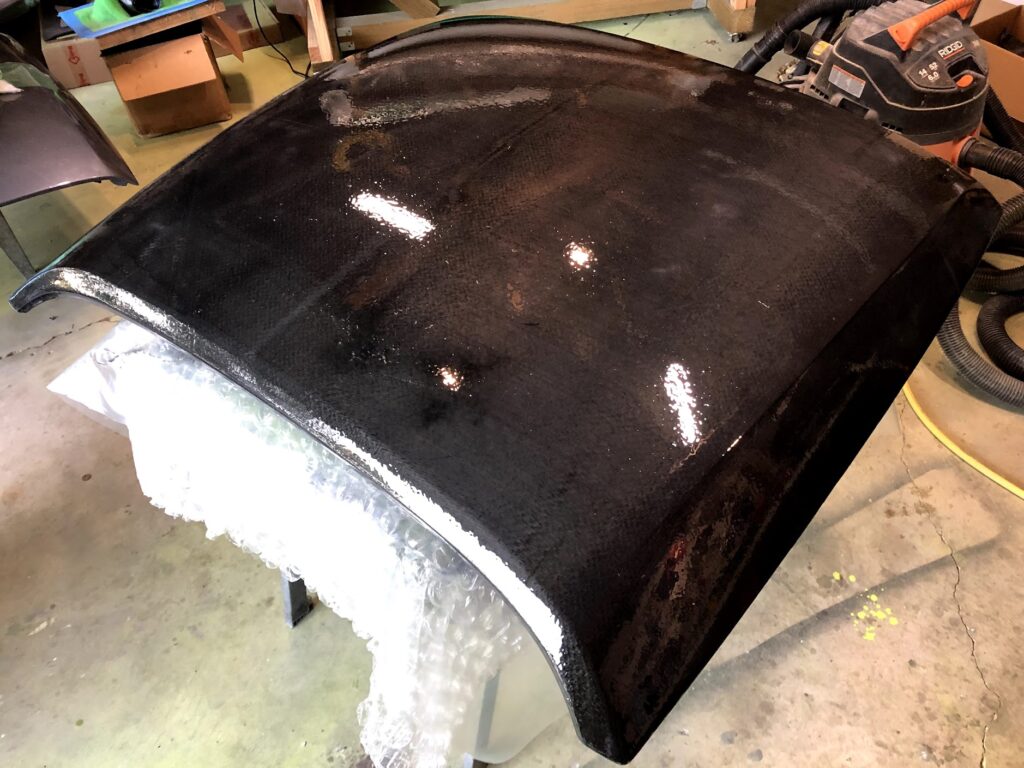
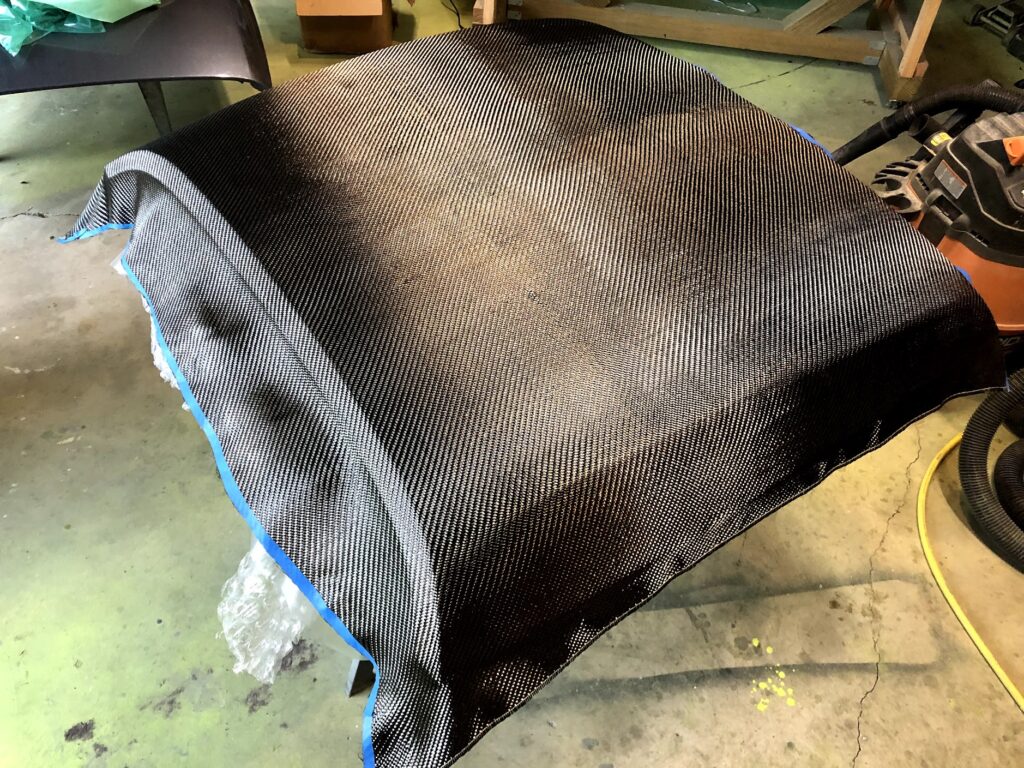
After properly preparing the surface, we covered it with epoxy laminating resin, let it cure to a slight tack, and carefully placed the new carbon fiber cosmetic layer. We then vacuum bagged the entire top to get the new layer as tight against the surface as possible and remove excess resin.
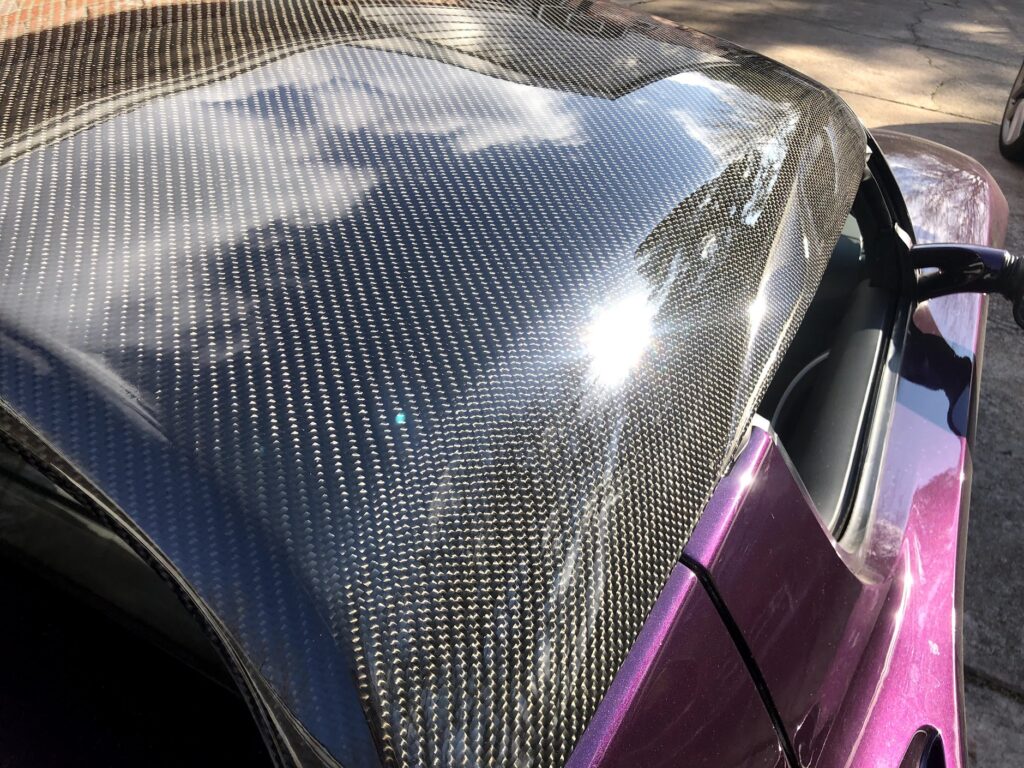
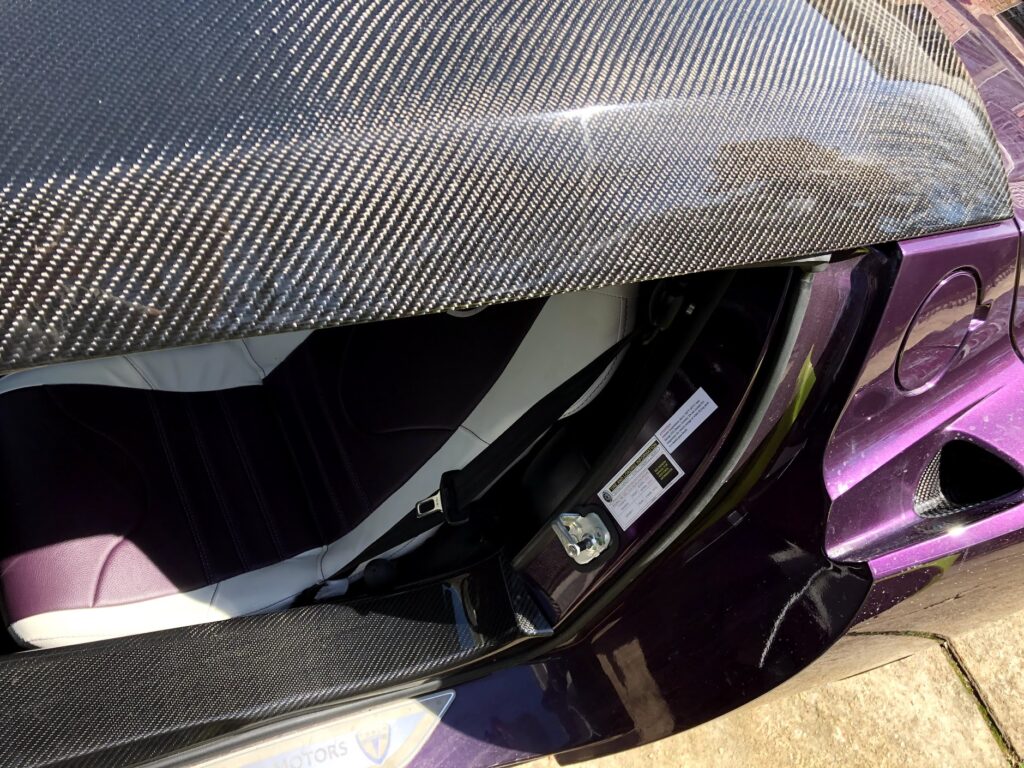
The final result after countless hours of sanding, recoating with epoxy resin, sanding, more resin, and a LOT more sanding… followed by a few layers of clearcoat. Pictured here on VIN 744 for test fitting and beauty shots. We’re very happy with it, as is the customer. He has said that it’s his favorite top, and he also owns an original OEM clear carbon top. The only way you can tell this one isn’t OEM is by the weave running in the “correct” direction.
